A dripping faucet at the base can be more than just an annoyance—it wastes water, increases your utility bills, and can signal underlying issues with your plumbing system. Whether you’re dealing with a slow drip or a steady stream, addressing the problem promptly is key to preventing further damage. This guide will walk you through practical steps to identify and fix the issue, ensuring your faucet works efficiently again.
Quick Tip: Before replacing parts, turn off the water supply and take a quick photo of the tap setup. It makes reassembly much easier.
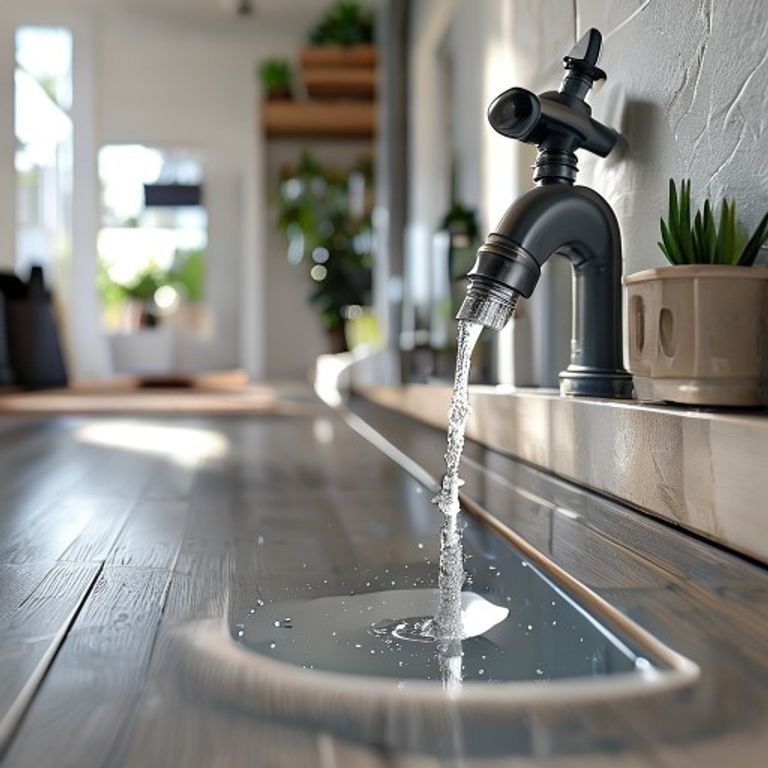
Why Is My Faucet Leaking at the Base?
Before diving into repairs, it’s important to understand the root cause. A faucet leak at the base typically stems from worn-out seals, loose connections, or deteriorated O-rings. Over time, these components can degrade due to constant use, hard water buildup, or temperature fluctuations. Ignoring the leak can lead to mold growth, water damage, or even structural issues in your home.
Tools and Materials You’ll Need
- Adjustable wrench
- Screwdriver set
- New O-rings or cartridge (if needed)
- Plumber’s tape
- Grease (silicone or petroleum-based)
- Flashlight
Step-by-Step Faucet Leak Repair Instructions
Step 1: Turn Off the Water Supply
Locate the shut-off valves under the sink and turn them clockwise to stop water flow. If there are no individual valves, turn off the main water supply to your home. Open the faucet to release any remaining pressure and drain residual water.
Step 2: Remove the Faucet Handle
Use a screwdriver to remove the screw securing the handle. This is often hidden under a decorative cap that can be pried off with a flathead screwdriver. Gently lift the handle to expose the internal components.
Step 3: Inspect the Cartridge or Stem
Look for signs of wear, cracks, or mineral deposits on the cartridge or stem. If damaged, replace it with a compatible part from your faucet manufacturer. For minor issues, clean the components with a soft brush and vinegar to remove buildup.
Step 4: Check the O-Rings and Seals
Remove the O-rings using a small tool or your fingers. Examine them for brittleness or flattening. Replace them if necessary, applying a thin layer of grease to ensure a smooth fit and prolong their lifespan.
Step 5: Tighten Connections
Use an adjustable wrench to gently tighten the nut connecting the faucet to the supply line. Be cautious not to overtighten, as this can strip threads or crack fittings. If the leak persists, consider wrapping plumber’s tape around the threads for a better seal.
Step 6: Reassemble and Test
Reinstall the cartridge, stem, and handle. Turn the water supply back on and test the faucet. If the leak is resolved, you’re done! If not, there may be a deeper issue requiring professional assistance.
Practical Tips for Long-Lasting Results
Here are some expert-backed tips to ensure your repair holds up:
- Regular Maintenance: Periodically check and tighten connections to prevent future leaks.
- Use Quality Parts: Opt for genuine replacement parts or high-quality alternatives to avoid repeated repairs.
- Address Hard Water Issues: Install a water softener if you live in an area with hard water to reduce mineral buildup.
- Don’t Overlook the Base: If the leak originates from the base of the faucet rather than the spout, the mounting hardware may need adjustment.
Frequently Asked Questions
What causes a faucet to leak at the base?
Leaks at the base are usually due to worn seals, loose connections, or damaged O-rings. Hard water can accelerate wear by leaving mineral deposits that compromise the integrity of these components.
Can I fix a leaking faucet myself?
Yes, most faucet leak repairs are DIY-friendly if you have basic tools and follow the steps carefully. However, if the leak persists after replacing parts, consult a licensed plumber to rule out hidden plumbing issues.
How often should I replace O-rings?
O-rings typically last 5–10 years, depending on usage and water quality. Replace them as soon as you notice signs of wear to prevent leaks and maintain optimal performance.
Is it safe to use plumber’s tape on all faucet threads?
Plumber’s tape is safe for most threaded connections, but avoid using it on compression fittings or O-ring sealed joints. Always follow the manufacturer’s guidelines for your specific faucet model.
Need help with another home fix? Keep this guide handy and check your taps, drains, and fixtures regularly to catch small problems early.
Conclusion
Fixing a faucet leak at the base doesn’t have to be overwhelming. By following these steps and maintaining your fixtures regularly, you can save money and conserve water while avoiding costly repairs down the line. If you’re unsure about any part of the process, don’t hesitate to seek help from a professional. For more detailed guidance on faucet troubleshooting, check out our comprehensive faucet leak repair guide.
You can also check this helpful external resource about faucet leak repair.