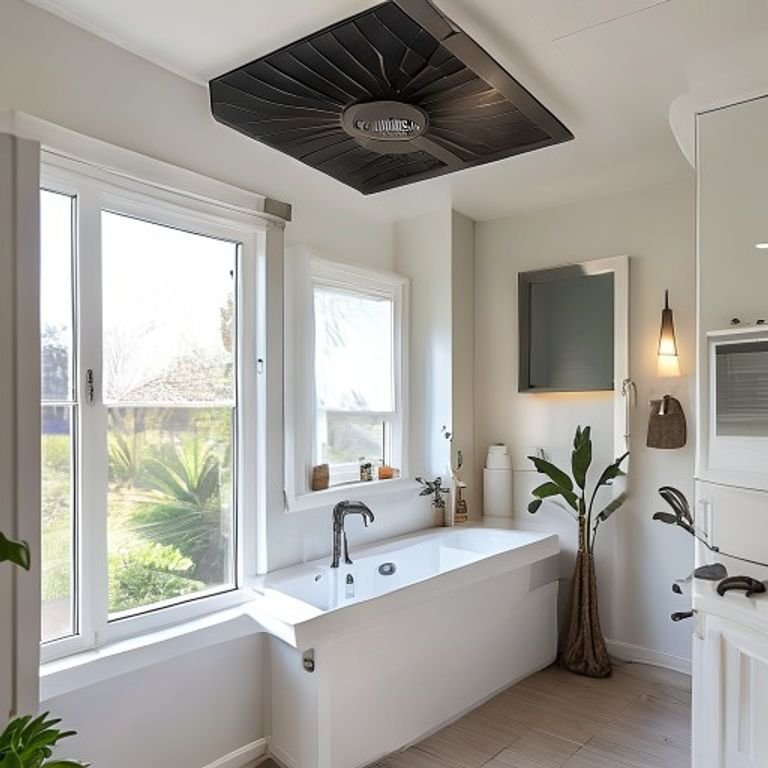
Your bathroom exhaust fan works quietly in the background, pulling moisture and odors out of the air. But when it gets clogged with dust and grime, it can’t do its job properly. A dirty fan not only reduces air quality but can also lead to mold growth and increased humidity—common issues in bathroom maintenance. Learning how to clean your bathroom exhaust fan is a simple, satisfying task that pays off in comfort and home health.
Quick Tip: Before replacing parts, turn off the water supply and take a quick photo of the tap setup. It makes reassembly much easier.
Why Regular Exhaust Fan Cleaning Matters
Over time, dust, lint, and airborne particles accumulate on the fan blades and housing. This buildup forces the motor to work harder, shortening its lifespan and reducing efficiency. A clean fan:
- Removes excess moisture quickly, preventing mold and mildew
- Eliminates musty odors and improves air freshness
- Reduces strain on the motor, saving energy and avoiding costly replacements
- Contributes to overall bathroom maintenance by protecting walls, paint, and fixtures from humidity damage
Step-by-Step Guide to Cleaning Your Bathroom Exhaust Fan
Follow these simple steps to safely and effectively clean your exhaust fan. Always turn off the circuit breaker for the bathroom before starting to avoid electrical shock.
1. Remove the Fan Cover
Most covers either pull down gently and release from clips or are secured with screws. Place a towel or drop cloth in the sink or tub to catch falling debris.
2. Clean the Cover
Soak the cover in warm, soapy water for 10–15 minutes. Use a soft brush or cloth to scrub away dust and grime. Rinse thoroughly and let it air dry completely.
3. Dust the Fan Assembly
With a vacuum cleaner hose attachment or a can of compressed air, carefully remove dust from the fan blades, motor, and housing. Hold the vacuum nozzle close to avoid spreading dust. For stubborn buildup, use a slightly damp cloth—just ensure no moisture gets into the motor.
4. Wipe Down the Housing
Dampen a cloth with a mild cleaner or vinegar solution and wipe the interior surfaces. Avoid spraying liquids directly onto the fan components.
5. Reassemble and Test
Once the cover is completely dry, reattach it securely. Turn the power back on and test the fan to ensure it runs smoothly and quietly.
Practical Tips for a Thorough Job
Make this task part of your seasonal bathroom maintenance routine. Here are extra tips for best results:
- Safety first: Always shut off power at the breaker. Use a sturdy step stool and wear safety glasses to protect your eyes from falling dust.
- Frequency: Clean the fan every 3–6 months, or more often if you notice reduced airflow or visible dust.
- Upgrade if needed: If your fan is old, noisy, or inefficient, consider replacing it with a newer, energy-efficient model. Proper ventilation is key to a healthy bathroom.
- Pair with other tasks: While you’re focused on ventilation, check your bathroom for other maintenance needs. For example, if you’ve noticed slow drainage, our guide on how to unclog a shower drain offers practical steps to keep your plumbing flowing freely.
Frequently Asked Questions
How often should I clean my bathroom exhaust fan?
Every 3–6 months is ideal for most households. If you have a large family or notice moisture lingering after showers, clean it more frequently.
Can I use a vacuum to clean the fan blades?
Yes, a vacuum with a brush attachment works well. Just be gentle to avoid bending the blades. Compressed air is another good option for dislodging dust from tight spots.
What if my fan is still noisy after cleaning?
Noise can indicate a motor issue or loose parts. Tighten any visible screws and ensure the cover is seated properly. If the noise persists, the motor may need lubrication or replacement.
Is it safe to clean the fan without turning off the power?
No. Always turn off the circuit breaker to avoid electrical shock, especially when using damp cloths near the motor.
Enjoy a Fresher, Healthier Bathroom
Cleaning your bathroom exhaust fan is a quick, rewarding chore that makes a real difference. By maintaining clear airflow, you protect your home from moisture damage, improve air quality, and extend the life of your fan. It’s a small but powerful part of smart bathroom maintenance that keeps your space feeling fresh and comfortable year-round. Add it to your home care checklist and breathe easier knowing your bathroom is working efficiently for you.
You can also check this helpful external resource about bathroom maintenance.