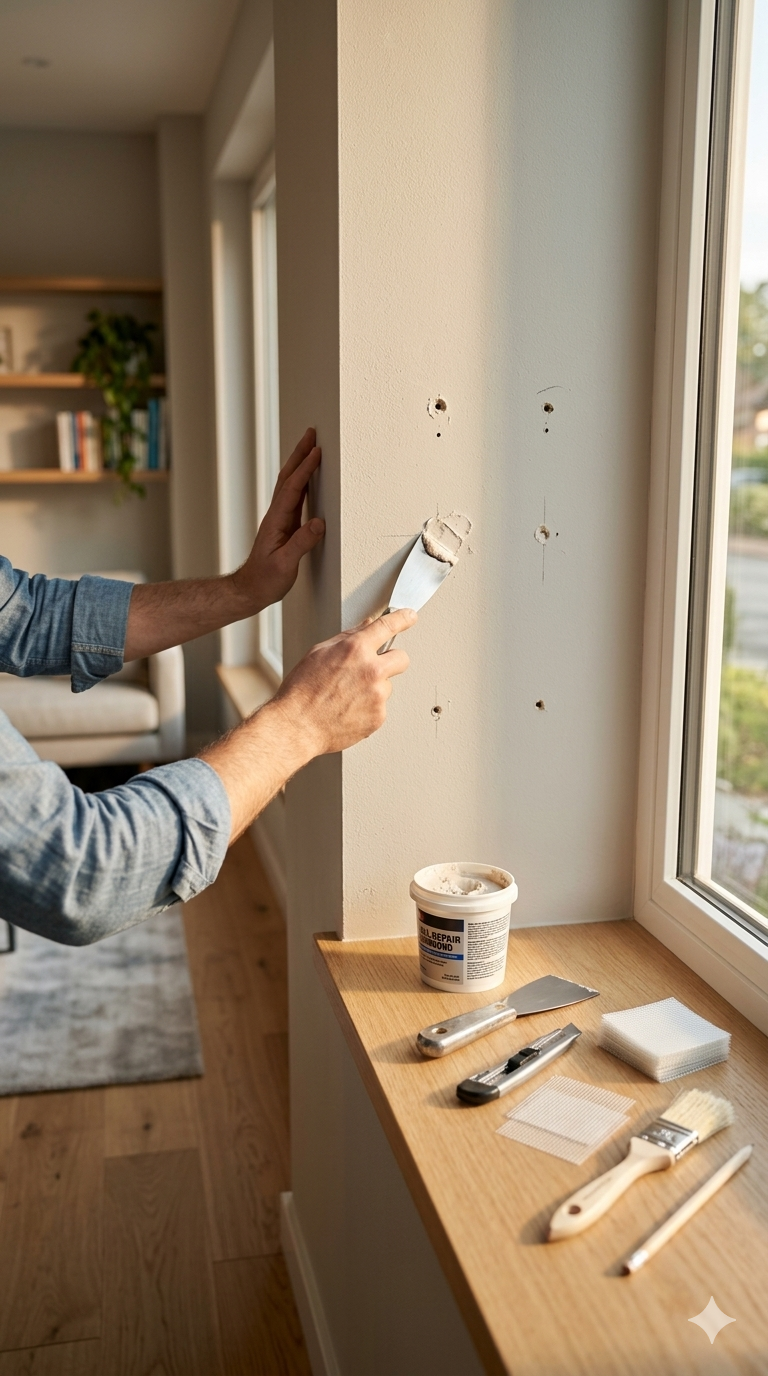
Accidentally leaving a screw hole in your wall can be unsightly, but fixing it is easier than you think. With the right tools and a few simple steps, you can restore a smooth surface that looks as good as new. In this guide we’ll walk you through the process of filling screw holes, share practical tips, and answer common questions—all while keeping the focus on a reliable wall patch repair you can trust.
Quick Tip: Before replacing parts, turn off the water supply and take a quick photo of the tap setup. It makes reassembly much easier.
What You’ll Need
- Spackle or lightweight joint compound
- Putty knife (2‑inch works best)
- Fine‑grit sandpaper (120‑150 grit)
- Primer and paint that matches your wall
- Clean cloth
Step‑by‑Step Instructions
1. Clean the Area
Start by wiping away any dust or debris around the screw hole with a clean cloth. A clean surface ensures the spackle adheres properly.
2. Prepare the Spackle
If you’re using a pre‑mixed spackle, give it a quick stir. For powder mixes, add water according to the manufacturer’s directions until you achieve a creamy consistency.
3. Apply the Spackle
Using the putty knife, scoop a small amount of spackle and press it into the hole. Overfill slightly—about 1 mm above the wall surface—so it can shrink slightly as it dries.
4. Smooth the Surface
Drag the putty knife across the patch in a feathering motion to blend the edges with the surrounding wall. Remove excess spackle to avoid a raised spot.
5. Let It Dry
Allow the spackle to cure completely. Most lightweight compounds dry within 30‑60 minutes, but check the label for exact times.
6. Sand the Patch
Lightly sand the dried spackle with fine‑grit sandpaper until it’s flush with the wall. Wipe away sanding dust with a damp cloth.
7. Prime and Paint
Apply a thin coat of primer over the repaired area, then paint to match the rest of the wall. Two coats may be needed for a seamless finish.
Practical Tips for a Flawless Wall Patch Repair
- Use the right spackle: For tiny screw holes, lightweight spackle works best; for larger gaps, opt for a setting-type joint compound.
- Don’t rush drying: Even if the surface feels dry, give it extra time to ensure a solid bond.
- Feather edges carefully: This prevents visible lines once painted.
- Match the paint: Test a small area first to avoid color mismatches.
- For more detailed advice on fixing small holes, visit our expert wall repair tips.
Frequently Asked Questions
Can I use drywall tape for a screw hole?
Drywall tape is unnecessary for tiny screw holes. Spackle alone provides a smooth, invisible repair.
What if the hole is larger than a screw head?
For larger holes, apply spackle in thin layers, allowing each layer to dry before adding the next. This builds strength and prevents cracking.
Do I need to sand before painting?
Yes. Sanding ensures the patched area is level with the surrounding wall, giving the paint a uniform surface to adhere to.
How long will the repair last?
A properly executed wall patch repair can last for years, especially if you prime and paint the patch to protect it from moisture.
Need help with another home fix? Keep this guide handy and check your taps, drains, and fixtures regularly to catch small problems early.
Conclusion
Filling screw holes in walls is a quick, cost‑effective way to keep your home looking polished. By following these straightforward steps and applying a few practical tips, you’ll achieve a seamless wall patch repair that blends perfectly with the rest of your space. Keep this guide handy for your next DIY project, and enjoy the confidence of a flawless finish.
You can also check this helpful external resource about wall patch repair.