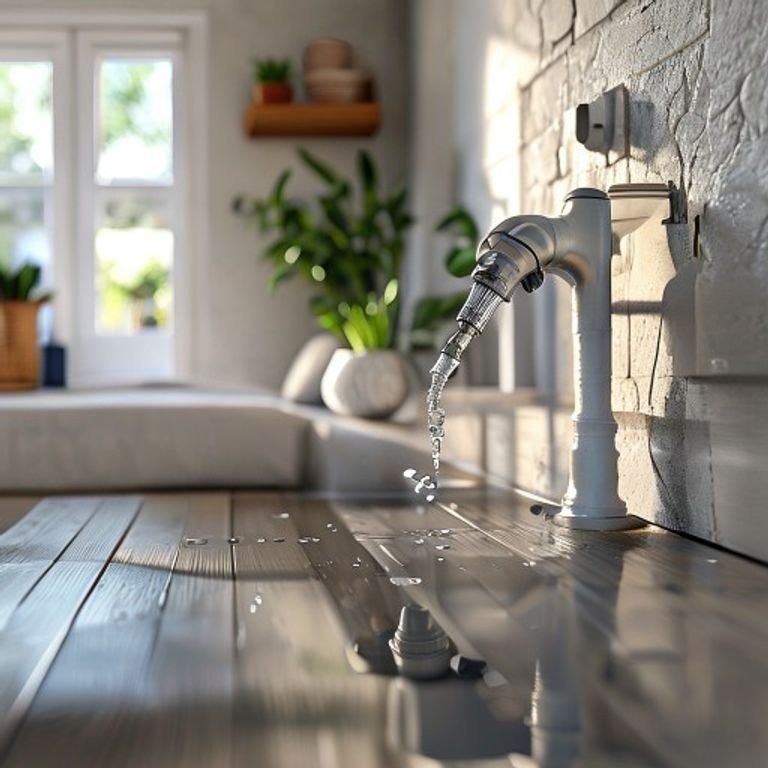
A dripping tap can waste gallons of water each day and raise your utility bill. Fortunately, most leaks are easy to stop with a few simple tools and a bit of patience. This guide walks you through the repair while sharing practical water saving tips to keep your home efficient.
Quick Tip: Before replacing parts, turn off the water supply and take a quick photo of the tap setup. It makes reassembly much easier.
Tools and Materials You’ll Need
- Adjustable wrench or basin wrench
- Screwdriver (flat‑head and Phillips)
- Replacement washer or O‑ring specific to your tap model
- Plumber’s tape
- Bucket or towel
- Clean rag
Step‑by‑Step Guide to Stop the Leak
1. Turn Off the Water Supply
Locate the shut‑off valves under the sink and turn them clockwise until they stop. If there are no local valves, close the main water supply to the house.
2. Plug the Drain
Use a sink stopper or a rag to block the drain. This prevents small parts from falling down the pipe.
3. Disassemble the Tap
Remove the decorative cap on the handle, then unscrew the handle using the appropriate screwdriver. Take off any retaining nut and gently pull the tap stem out.
4. Replace the Washer or O‑Ring
Inspect the rubber washer at the base of the stem. If it’s cracked, flattened, or hardened, replace it with a new one of the same size. Some modern taps use an O‑ring instead — swap that if needed.
5. Reassemble and Test
Re‑attach the stem, tighten the retaining nut, and snap the handle back on. Turn the water supply back on slowly, checking for any remaining drips. If the leak persists, you may need to tighten the packing nut slightly.
Practical Water Saving Tips
- Fix leaks promptly – a single drip can waste up to 15,000 gallons per year.
- Install aerators on faucets to reduce flow without sacrificing pressure.
- Use a bucket to catch water while waiting for it to heat up, then reuse it for plants.
- Consider a low‑flow faucet replacement for long‑term savings.
Frequently Asked Questions
Q: Why does my tap keep leaking after I replace the washer?
A: The seat may be corroded or the O‑ring might be the wrong size. Clean the seat with a seat‑repair tool or replace it if damaged.
Q: Can I use plumber’s tape on a ceramic‑disk faucet?
A: Yes, but apply it only to threaded connections, not to the ceramic disk itself.
Q: Is it worth repairing an old tap versus replacing it?
A: If the tap is over 10 years old and leaks frequently, a replacement may be more cost‑effective and improve water efficiency.
Need help with another home fix? Keep this guide handy and check your taps, drains, and fixtures regularly to catch small problems early.
Conclusion
Repairing a leaking tap is a quick, inexpensive project that stops water waste and protects your home from damage. With the right tools, a little patience, and the water saving tips shared above, you can enjoy a drip‑free faucet and lower your water bill. For more plumbing help, check out our guide on how to unclog a drain.
You can also check this helpful external resource about water saving tips.