Cabinet hinges are the unsung heroes of any kitchen, bearing the weight of doors and enduring constant use. Over time, they can become loose, misaligned, or squeaky, turning a simple task into a daily frustration. Addressing these issues promptly is a key part of effective kitchen maintenance, preventing further damage and keeping your space functional and quiet. This guide will walk you through diagnosing and fixing common cabinet hinge problems with straightforward, step-by-step instructions.
Quick Tip: Before replacing parts, turn off the water supply and take a quick photo of the tap setup. It makes reassembly much easier.
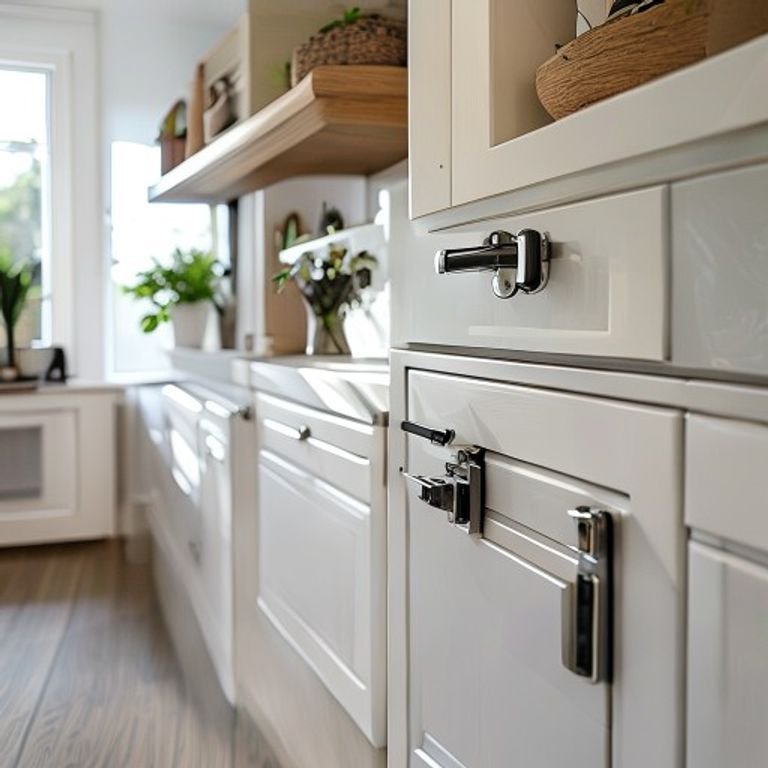
Diagnosing the Problem: Why Your Cabinet Hinges Fail
Before grabbing your tools, take a moment to identify the exact issue. Common problems include:
- Loose screws: The most frequent culprit, causing doors to sag or rub.
- Misaligned hinges: Doors that don’t close properly or have uneven gaps.
- Worn or damaged hinges: Visible bending, cracking, or stripped screw holes.
- Squeaking: Often due to friction from lack of lubrication or minor misalignment.
Tools and Materials You’ll Need
Gather these items before starting for a smooth repair process:
- A screwdriver (typically Phillips or flat-head, matching your hinge screws)
- New screws (if originals are stripped or missing)
- Wood glue (for repairing stripped screw holes)
- Wooden toothpicks or matchsticks (for filling enlarged holes)
- A drill with a small bit (optional, for pilot holes)
- Lubricant (like WD-40 or white lithium grease for squeaks)
- Level (to check door alignment)
Step-by-Step Instructions to Fix Cabinet Hinges
Step 1: Tighten All Screws
Begin with the simplest fix. Using your screwdriver, firmly tighten every screw on both the cabinet frame wing and the door wing of each hinge. If screws spin without tightening, the hole is stripped—proceed to Step 2.
Step 2: Repair Stripped Screw Holes
If tightening doesn’t work, remove the loose screw. Dip several toothpicks or a wooden matchstick into wood glue and tap them into the enlarged hole until it’s tightly packed. Once the glue dries, reinsert the screw. The filled wood will provide a fresh grip.
Step 3: Adjust Hinge Alignment
Many modern hinges have adjustment screws. If your hinge has a single screw on the frame wing, turning it clockwise moves the door closer to the cabinet frame; counter-clockwise moves it away. Adjust incrementally and test the door after each turn until gaps are even and the door closes smoothly.
Step 4: Fix Sagging or Rubbing Doors
For doors that rub at the top or bottom, the hinge may need to be shimmed. Loosen the screws on the hinge attached to the cabinet frame slightly. Place a thin piece of cardboard or a metal washer behind the hinge leaf on the side that needs to be raised, then retighten the screws. This realigns the door’s swing.
Step 5: Lubricate for Silence
If the hinge squeaks after mechanical fixes, apply a small amount of lubricant to the hinge pin and pivot points. Open and close the door several times to work the lubricant in. Wipe away any excess to prevent drips.
Practical Tips for Long-Lasting Results
Beyond the immediate fix, these habits will extend the life of your cabinet hinges:
- Perform regular checks: Include hinge tightening in your seasonal kitchen maintenance routine.
- Don’t over-tighten: This can strip holes or warp the hinge. Snug is sufficient.
- Match your replacements: If a hinge is beyond repair, take the old one to the hardware store to find an exact match for hole alignment.
- Consider soft-close hinges: If you’re upgrading, these reduce impact and wear, a smart investment for busy kitchens.
For those who have tackled a stubborn door hinge squeak elsewhere in the house, the principles are similar. You can find detailed advice on quieting door hinges in our related guide: How to Fix a Door Hinge Squeak.
Frequently Asked Questions
Why do my cabinet door hinges keep coming loose?
Constant use, the weight of the door, and vibrations from closing can gradually loosen screws. Using the correct screw length and ensuring holes are not stripped will provide a more permanent hold.
Can I use longer screws to fix a loose hinge?
Only if the original screw was too short. Using a screw that’s too long can puncture the cabinet interior or door front. Repairing the hole with wood filler and reusing the correct-length screw is safer.
How do I know if I need to replace a hinge entirely?
If the hinge is bent, severely corroded, or the mounting holes are cracked or broken, replacement is necessary. Mismatched or damaged hinges will never align correctly.
Should I oil my cabinet hinges?
Yes, but use a dry lubricant like powdered graphite for kitchen environments to avoid attracting grease and dust. Oil can drip and stain surfaces.
Need help with another home fix? Keep this guide handy and check your taps, drains, and fixtures regularly to catch small problems early.
Conclusion
Fixing cabinet hinges is a straightforward DIY task that pays off in daily convenience and prevents minor issues from escalating. By tightening, adjusting, and maintaining these small but vital components, you uphold the overall functionality and quietness of your kitchen. Remember, consistent kitchen maintenance like this not only solves immediate annoyances but also protects the value and longevity of your home’s heart.
You can also check this helpful external resource about kitchen maintenance.